
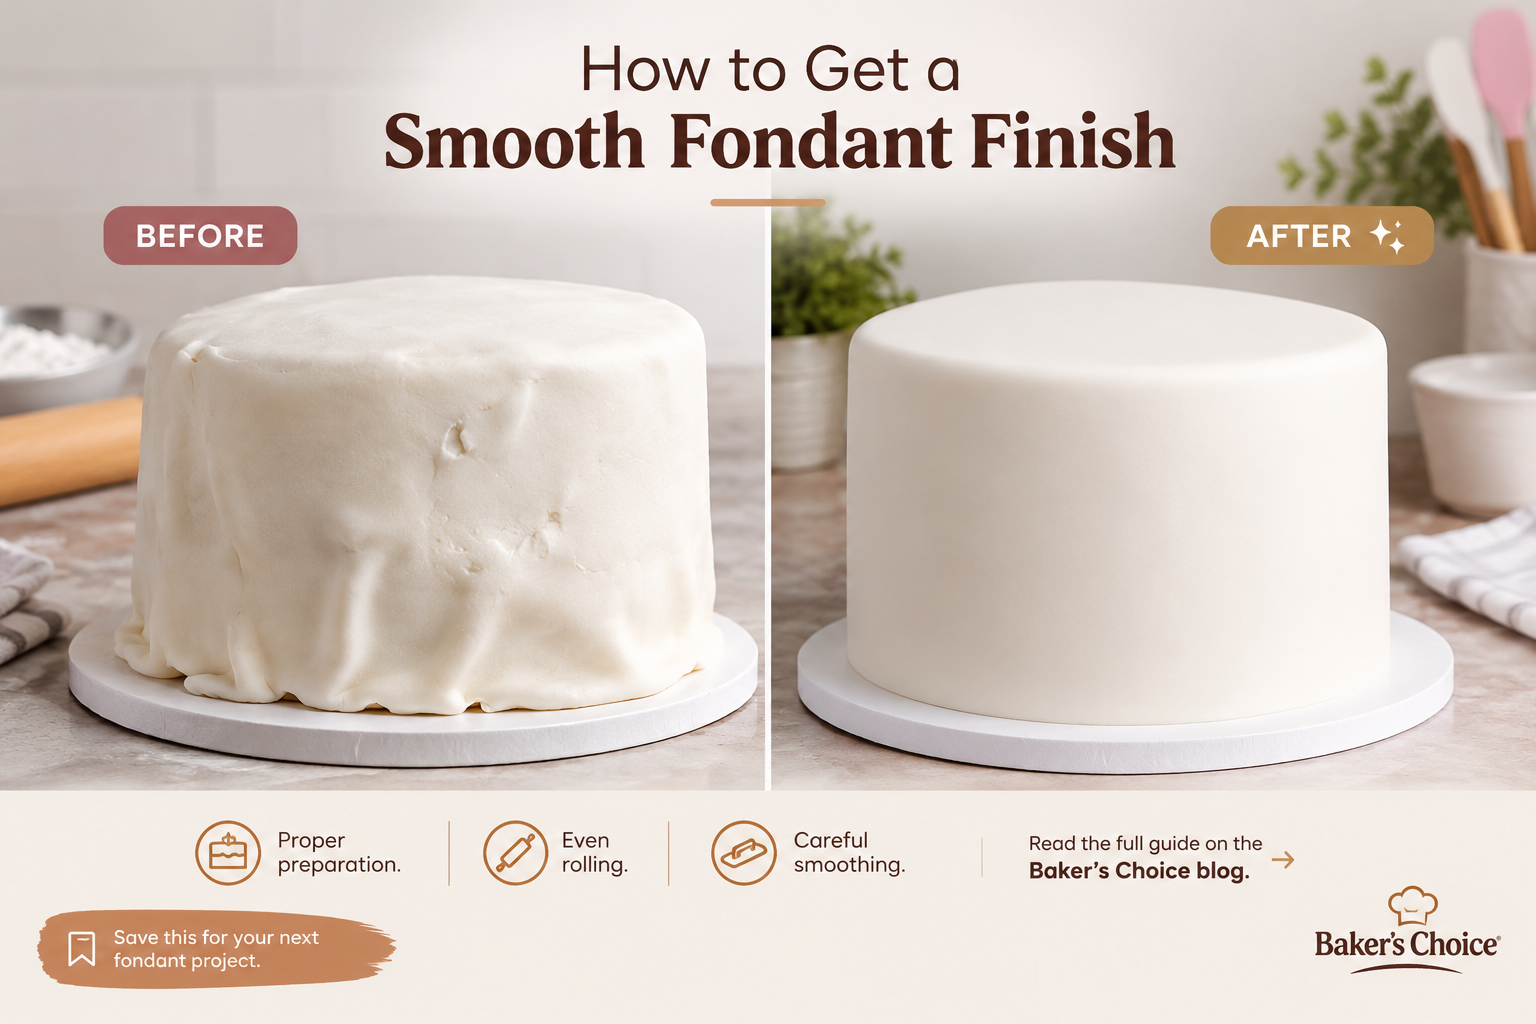
A beautifully decorated cake often starts with a simple detail: a smooth fondant finish.
Whether you’re preparing a birthday cake, wedding cake, or celebration cake for a client, the way your fondant sits on the cake can make a significant difference to the final appearance. A smooth finish creates a neat surface for additional decorations, while bumps, folds, cracks, and air bubbles can affect the overall look.
The good news? Achieving a smooth fondant finish doesn’t have to be complicated. With proper preparation, even rolling, and careful smoothing, you can improve your cake-covering technique and achieve a cleaner result.
In this guide, we’ll walk through the practical steps to help you get a smooth fondant finish on your next cake.
1. Prepare Your Cake Properly
One of the most important steps happens before you roll out your fondant.
If your cake has an uneven surface, visible crumbs, or rough edges, these imperfections may show through the fondant. Applying fondant directly to an improperly prepared cake can make it harder to achieve a smooth finish.
Here’s what to do:
Baker’s tip: Take your time with the preparation. Fondant will not automatically hide every bump or uneven area underneath it.
2. Knead Your Fondant Until It’s Smooth and Pliable
Fondant that is too stiff can crack when rolled or stretched over a cake. Fondant that is excessively soft or sticky can become difficult to handle and may tear during application.
Before rolling, knead your fondant until it feels smooth, pliable, and easy to work with.
If the fondant feels stiff, knead it a little longer to improve its flexibility. If it feels sticky, work on a clean, dry surface and use a small amount of icing sugar or cornstarch if appropriate for your fondant.
Avoid adding too much dusting powder, as excess can dry out the fondant and affect its texture.
Remember: Different fondant brands and formulations behave differently, so always consider the manufacturer’s handling recommendations.
3. Roll Your Fondant Evenly
Uneven rolling is a common reason fondant finishes look inconsistent.
If one section is thicker than another, the fondant may stretch unevenly when you cover the cake. Thin areas can tear more easily, while thick sections may create excess folds around the sides.
To improve your rolling technique:
A rolling pin with thickness guides can help you maintain a more consistent thickness.
Baker’s tip: Measure your cake before rolling. For a round cake, allow enough fondant to cover the diameter of the top, both sides, and a little extra for handling.
This reduces the risk of rolling a piece that is too small and having to stretch it over the cake.
4. Lift and Position the Fondant Carefully
Once your fondant is rolled out, the next step is transferring it to the cake.
Handling it carelessly can create creases, tears, or unwanted folds before you even begin smoothing.
You can use your rolling pin to lift the fondant. Gently drape it over the rolling pin, position it above the cake, and carefully unroll it across the surface.
Make sure the fondant is centred so that there is enough material on every side.
Avoid pulling the fondant down aggressively, as stretching it too much can cause thin spots and tearing.
5. Smooth the Top Before the Sides
After positioning the fondant, begin smoothing the top of the cake before working down the sides.
Use a fondant smoother to gently press the fondant against the top surface. Work from the centre outward to help remove trapped air and create an even finish.
Once the top is smooth, move to the sides.
Gently lift and adjust the loose fondant around the edges as you work downward. This helps release folds and prevents excess material from gathering around the base.
Work gradually rather than trying to smooth the entire cake at once.
Why this matters: Smoothing the top first helps establish a clean surface before you tackle the more challenging sides and corners.
6. Remove Air Bubbles and Folds
Air bubbles and folds can make an otherwise well-covered cake look uneven.
If you notice a small air bubble, gently encourage the trapped air towards the nearest edge using a fondant smoother. If necessary, a clean, fine pin may be used to release the air from a stubborn bubble, depending on the location and your technique. Smooth the area carefully afterwards.
For folds around the sides, gently lift the fondant away from the cake and reposition it before smoothing it back down.
Do not simply press large folds against the cake, as this can leave visible creases.
Patience is important here. Small, controlled adjustments are usually more effective than pulling or stretching the fondant.
7. Trim the Excess Fondant Neatly
Once the top and sides are smooth, trim the excess fondant around the bottom of the cake.
Use a sharp knife or fondant trimmer to cut close to the base without damaging the cake board or the cake itself.
Keep the cut as even as possible.
After trimming, use a fondant smoother to refine the bottom edge and remove any remaining marks.
If you are adding a decorative border, ribbon, or fondant details, this is also a good time to prepare the base for those finishing touches.
8. Avoid These Common Fondant Mistakes
Even experienced bakers encounter fondant problems. Knowing what causes them can help you avoid unnecessary corrections.
| Common mistake | Why it happens | How to avoid it |
| Cracks in the fondant | The fondant is too dry, stiff, or stretched excessively. | Knead it properly and avoid over-stretching. |
| Visible bumps | The cake or its outer coating is uneven. | Level the cake and smooth the coating before covering. |
| Air bubbles | Air becomes trapped between the fondant and the cake. | Smooth from the centre outward and address bubbles promptly. |
| Folds around the sides | Excess fondant gathers as it is pressed down. | Lift and adjust the fondant gradually while smoothing. |
| Torn fondant | The fondant is too thin or stretched too much. | Roll it evenly and ensure it is large enough to cover the cake. |
| Sticky fondant | Too much moisture, heat, or handling makes it difficult to work with. | Use a clean, dry surface and follow the fondant manufacturer’s recommendations. |
| Uneven edges
|
Excess fondant is trimmed carelessly. |
Trim only after smoothing the top and sides. |